


How do you wrap wine glasses for packing?
Wine glasses are prone to breaking if poor packing methods are used. To safeguard them, it is essential to wrap each glass with robust padding and place them in a secure container. By adhering to a systematic packing procedure, you can minimize the risk of damage.
Please follow the steps outlined below to properly prepare your glasses for relocation or storage.
Step 1: Choose your supplies
You need the right materials before you start. This gives you a clean workflow and reduces errors.
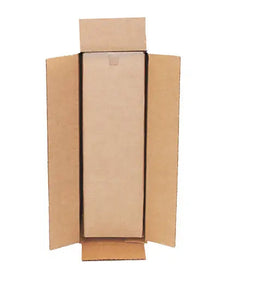
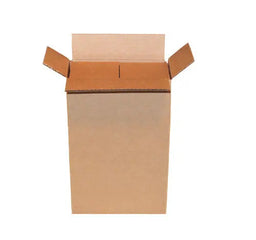
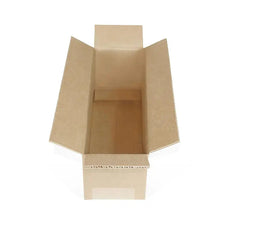
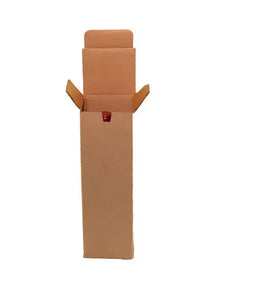
- Strongbox
- Packing paper
- Bubble wrap
- Tape
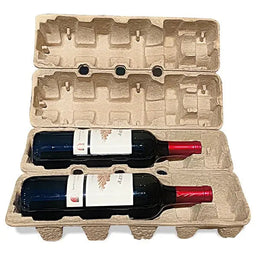
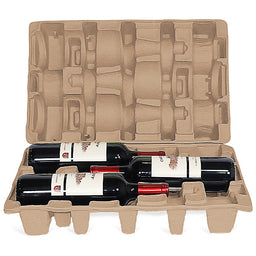
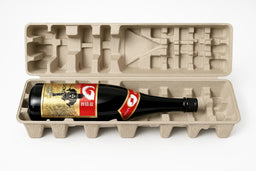
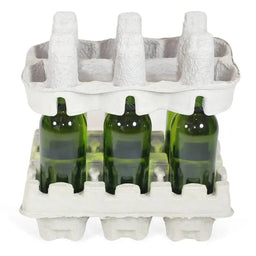
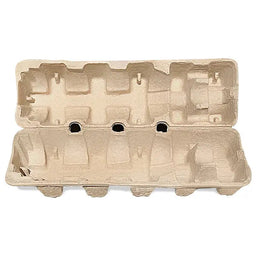
- Dividers
- Soft cloths
- Labels
Step 2: Prepare your workspace
Create a clean and stable surface. Remove liquids or sharp objects. Keep your supplies beside you. This helps you wrap each glass fast and with more accuracy.
Step 3: Wrap each glass with packing paper
Place one sheet of packing paper on the table. Set the glass in the corner of the sheet. Roll the glass until the paper covers the entire surface. Tuck the ends into the bowl and the base. Use more paper if the glass has a wide bowl. This step adds the first layer of protection. It reduces scratches and small impacts.
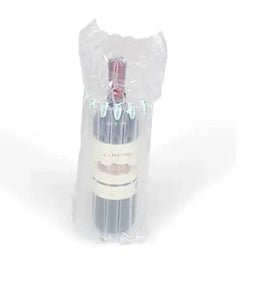
Step 4: Add bubble wrap for more protection
Place the glass on bubble wrap. Roll the wrap around the glass. Secure the wrap with tape. Ensure the entire bowl and stem have equal coverage. Do not leave gaps. Bubble wrap absorbs stronger impacts during transport.
Step 5: Protect the stem
The stem breaks faster than the bowl. You need extra padding around the stem. Wrap the stem with folded packing paper. Add a small strip of bubble wrap around the stem. Tape it gently. This step lowers the risk of pressure damage.
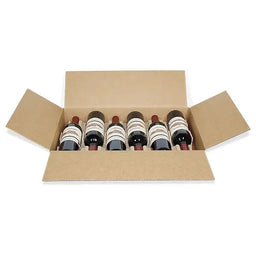
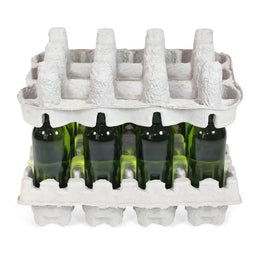
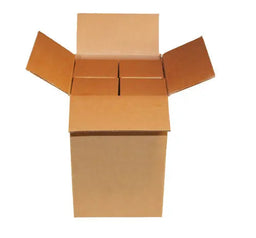
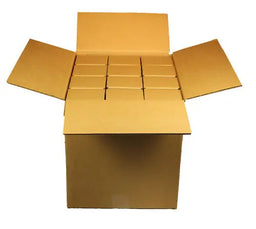
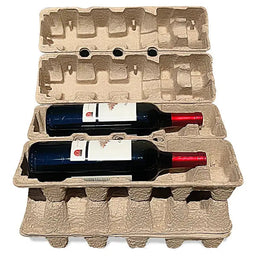
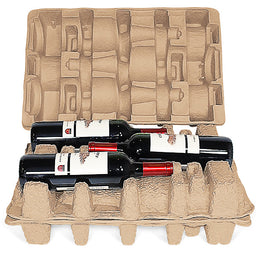
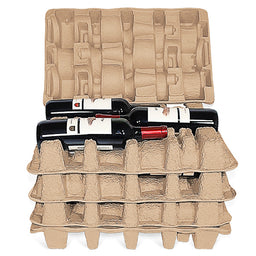
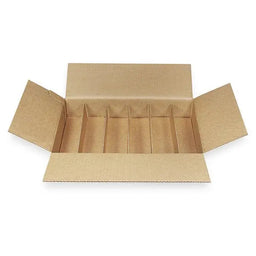
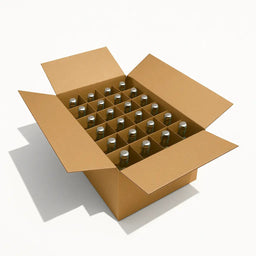
Step 6: Use dividers inside the box
Dividers separate each glass. They reduce movement. They also prevent glasses from hitting one another. Insert the dividers inside the box. Check that each slot is firm. You need a tight fit. Loose dividers increase breakage.
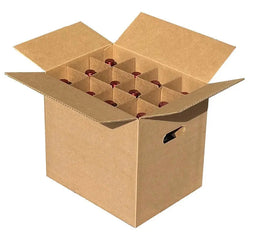
Step 7: Place the glasses in the box
Place each wrapped glass upright in a divider slot. Do not place glasses sideways. Upright placement provides stronger support. Fill empty spaces with packing paper or soft cloths. You want zero movement when you shake the box.
Step 8: Add a top layer of padding
Place a soft layer of packing paper or cloths on top. This protects the glasses from pressure when boxes stack on top of one another during transport.
Step 9: Seal the box
Close the box with strong tape. Add two strips across the top. Add another strip across the sides. Proper taping stops the box from opening during lifting or transport.
Step 10: Label the box
Write "Fragile" on all sides. Write Glassware. Write This side up. Clear labels help movers handle the box with more care. This lowers the risk of rough handling.
Step 11: Test the box
Lift the box gently. Shake it once. If you hear movement, open the box. Add more padding. Test again until you hear no movement. A stable box protects the glasses during long trips or storage.
Step 12: Store the box properly
Place the box on a flat surface. Do not stack heavy items on top. Do not store the box in a damp or hot environment. Stable storage protects the wrapping and keeps the glasses safe.
Practical tips for better results
- Use double wrapping for tall stems
- Use thicker paper for wide bowls
- Use branded divider boxes for long-distance moves
- Replace old bubble wrap with new material
- Check each glass for cracks before packing
Conclusion
These steps highlighted in this article reduce breakage during transport and storage. This approach also delivers consistent results for both home moves and commercial shipping.