


Crafting Your Own Wine and Beer Carriers This Holiday
The holiday season has arrived. This is the time for gifting, social gatherings, and the sound of clinking bottles. Do you know you can create your own wine and beer carriers at home?
Wine and beer carriers are not only functional and festive but also surprisingly simple to construct.
Here is a step-by-step guide on how to create one.
Why Make Your Own Wine and Beer Carriers?
- You control the size and bottle count
- You reduce breakage during travel
- You reuse materials already at home
- You create a thoughtful, handmade presentation
For small batches, gift exchanges, and local deliveries, DIY carriers work very well.
Step 1: Define the Purpose First
Before cutting or folding anything, get clear.
- How many bottles are you carrying? One, two, four, or six?
- Are they wine bottles, beer bottles, or a mix?
- Is this for gifting, transport, or both?
Wine bottles are taller and heavier. Beer bottles are shorter but often carried in groups. Your answers will guide the structure and strength of your carrier.
Step 2: Choose the Right Materials
You do not need fancy tools. Simple materials work just fine.
Popular options include
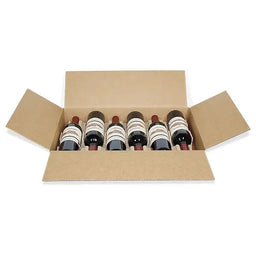
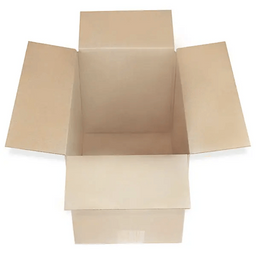
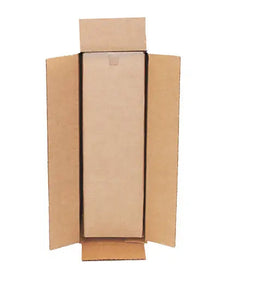
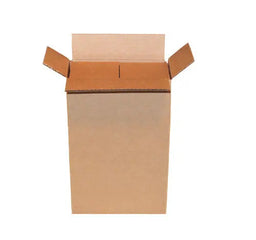
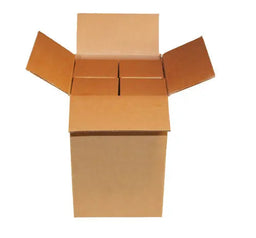
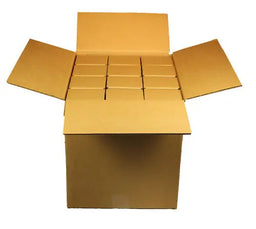
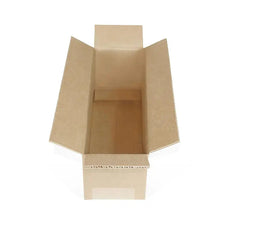
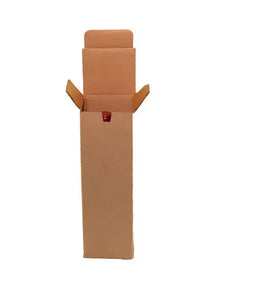
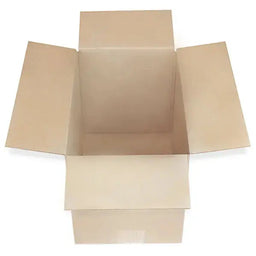
- Thick cardboard or corrugated boxes.
- Paperboard from old packaging.
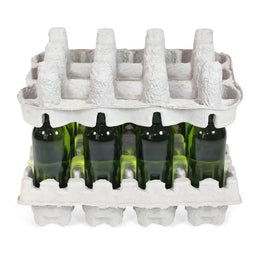
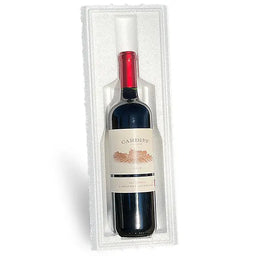
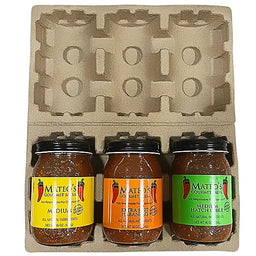
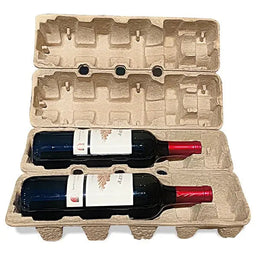
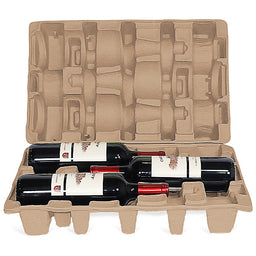
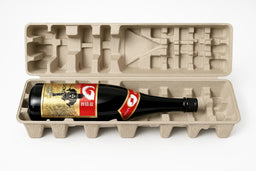
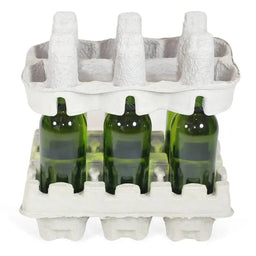
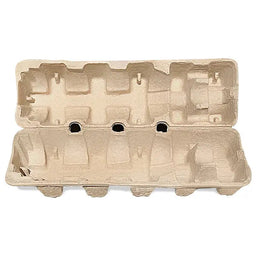
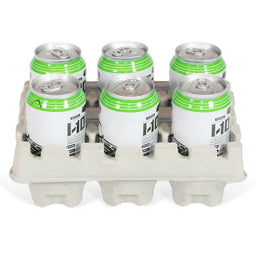
- Molded pulp trays or inserts, if available
- Kraft paper for wrapping
- Twine, ribbon, or rope for handles
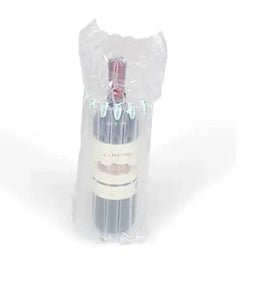
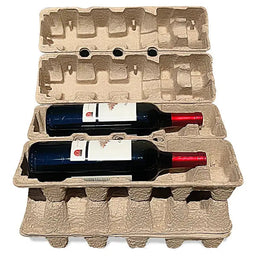
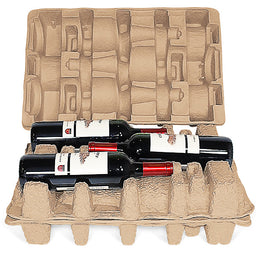
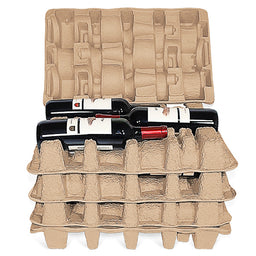
If you want extra protection, molded pulp inserts are ideal. They cushion bottles, prevent movement, and are eco-friendly. Many businesses use them for wine and beer shipping for a reason.
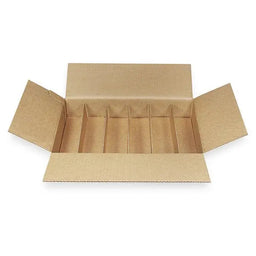
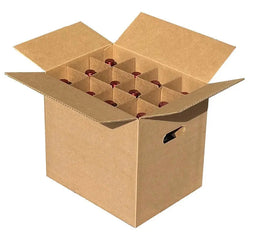
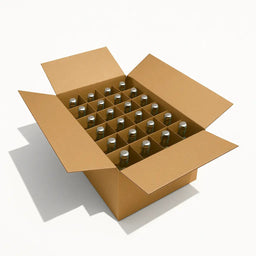
Step 3: Build a Strong Base
The base matters more than the design.
Follow these tips:
- Double-layer the bottom for strength
- Make sure bottles sit flat and upright
- Add dividers between bottles to stop clinking
You can create dividers by folding cardboard into cross shapes. For wine bottles, individual slots work best. For beer, group dividers are fine.
Test the base before moving on. Place the bottles inside and gently lift. If it bends, reinforce it.
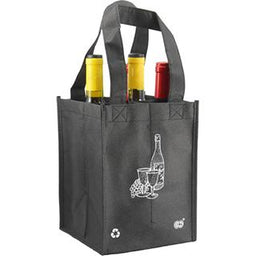
Step 4: Add Handles the Smart Way
Handles make carriers practical. Weak handles cause accidents.
Good handle options include:
- Twisted rope threaded through reinforced holes
- Folded cardboard handles glued and taped securely
- Fabric straps sewn or glued in place
Always reinforce handle areas with extra cardboard. This small step prevents tearing when the carrier is fully loaded.
Step 5: Decorate Without Compromising Safety
Holiday style matters, but safety comes first.
You can decorate with:
- Kraft paper wraps
- Holiday stamps or stickers
- Simple handwritten tags
- Natural elements like pine sprigs or dried orange slices
Avoid heavy decorations that add weight or throw off balance.
Step 6: Test Before Gifting
Never skip this step.
- Carry the bottles around your home.
- Tilt slightly to test stability.
- Set it down and lift again
If it survives this test, it is ready for gifting.
A Smarter Holiday Takeaway
Crafting your own wine and beer carriers is fun, useful, and practical. It protects your bottles, shows effort, and reduces waste. For businesses or larger batches, professional solutions like molded pulp wine and beer carriers offer the same benefits at scale, with added durability.
Whether DIY or ready-made, the goal stays the same. Safe bottles. Happy holidays. No mess.
And that is a gift everyone appreciates.