


How to Package Pulp Wine for Shipping
Transporting wine requires careful attention. A single mistake can result in shattered bottles and dissatisfied customers. However, when executed correctly, the process leads to seamless deliveries, satisfied customers, and a tidy outcome.
This is where pulp wine shippers play a crucial role. These are environmentally friendly and protective solutions that simplify wine packaging—particularly when utilized correctly.

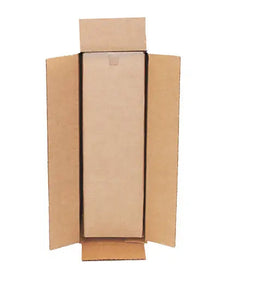
Step 1: Choose the Right Pulp Wine Shipper
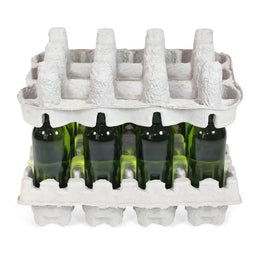
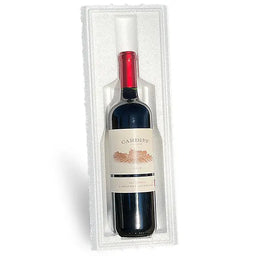
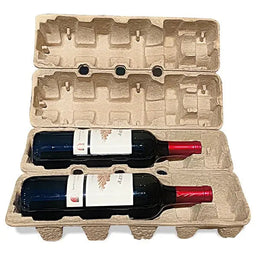
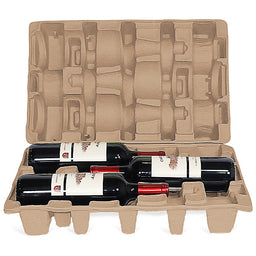
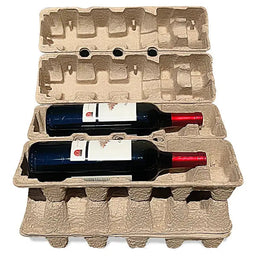
Not all wine shipments are created equal, and neither are pulp wine shippers. These molded pulp inserts are designed to cradle your bottles safely—so choosing the correct configuration is step one.
Here are your typical options:
-
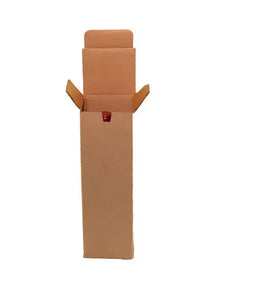
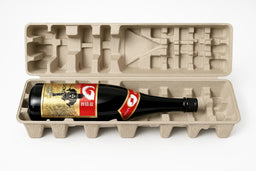
Single-bottle shippers—perfect for gifts or samples.
-
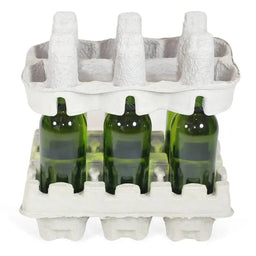
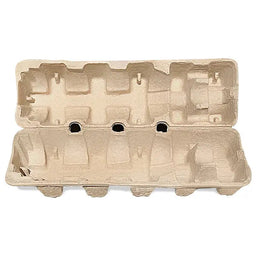
Two- and three-bottle shippers – Great for smaller orders or premium pairings.
-
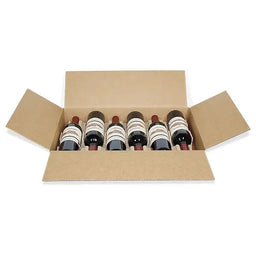
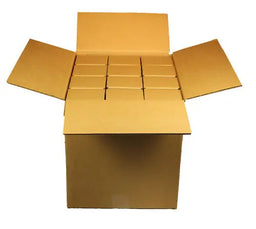
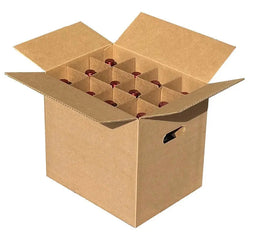
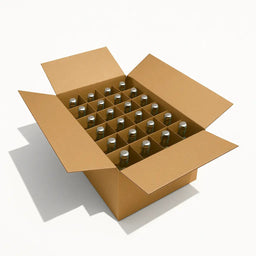
Six- and twelve-bottle kits – Ideal for wineries or bulk shipments.
Always match your shipper size to the number of bottles you're sending. Too loose? You risk rattling. Too tight? You might create pressure that leads to breakage.
Step 2: Inspect and Prep the Bottles
Before you even start packaging,
-
Wipe down each bottle to remove dust or residue.
-
Check for chips, cracks, or leaky seals.
-
Make sure all corks or caps are secure and intact.
This might seem like overkill, but a clean, well-sealed bottle ships better and looks more professional on arrival.
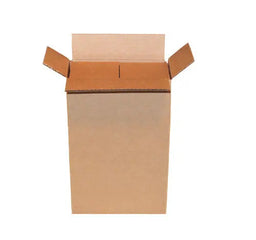
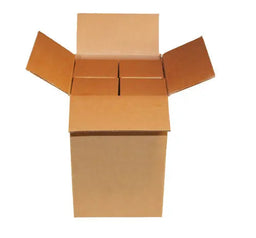
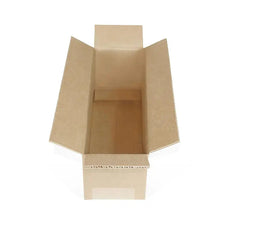
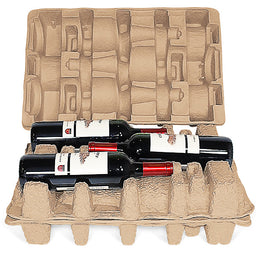
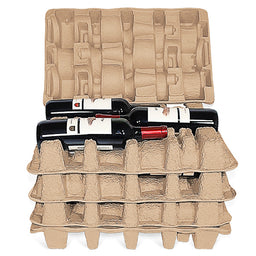
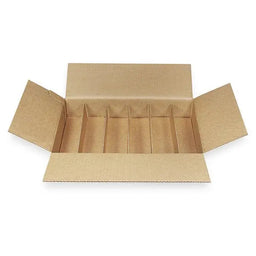
Step 3: Assemble Your Kit
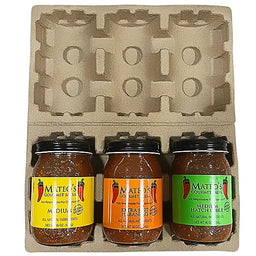
Most pulp wine shippers come in two main parts:
-
A bottom tray that holds the bottle(s).
-
A top tray that fits over the necks and secures everything.
Here’s how to assemble:
-
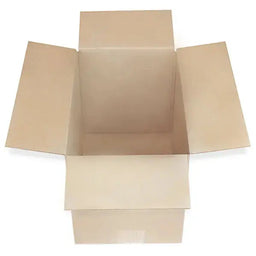
Place the bottom pulp insert in your shipping box.
-
Insert your wine bottles carefully, one at a time.
-
Slide the top tray into place so it fits snugly over each bottle.
-
Lightly shake to ensure there’s no movement. If it rattles, readjust.
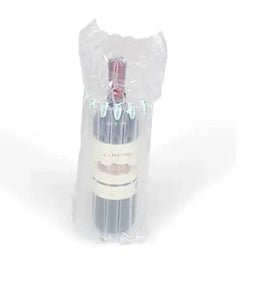
Tip: You can also use dividers or corrugated sleeves for extra security if you're reusing boxes or shipping internationally.
Step 4: Seal and Label
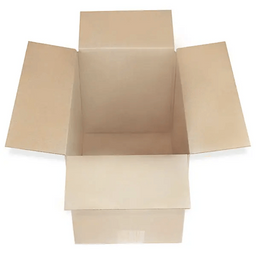
Once your bottles are nestled in their pulp packaging, it’s time to close the box. Use strong packing tape—and don’t skimp. Tape all seams and corners to prevent the box from opening during transit.
Next, add these key details to your label:
-
Fragile—Glass Inside
-
This Side Up (with arrows)
-
Alcohol Shipping Notice (if required in your area)
And don’t forget: some carriers have specific alcohol shipping rules. UPS and FedEx, for example, require adult signature confirmation for wine deliveries.
Step 5: Ship with Confidence
You’ve done the work. Your bottles are clean, your pulp inserts are in place, and your box is taped up like Fort Knox. Now all that’s left is to send it off.
For best results:
-
Avoid extreme weather. Hot or cold temps can ruin wine during transit.
-
Use expedited shipping for long distances to reduce risk.
-
Track your shipment to make sure it arrives on time and intact.
Why Pulp Shippers are the Way to Go
There are plenty of packaging options out there—but pulp wine shippers win on so many fronts:
-
Eco-friendly—They are made from recycled materials and are 100% biodegradable.
-
Shock-absorbing – They hug your bottles like a protective shell.
-
Lightweight – Save on shipping costs without sacrificing safety.
-
Stackable and space-saving – Great for storage and bulk shipping.
Final Sip
Shipping wine doesn’t have to be stressful. With pulp wine shippers and a few smart steps, you’ll ensure every bottle arrives safe, sound, and ready to pour.